
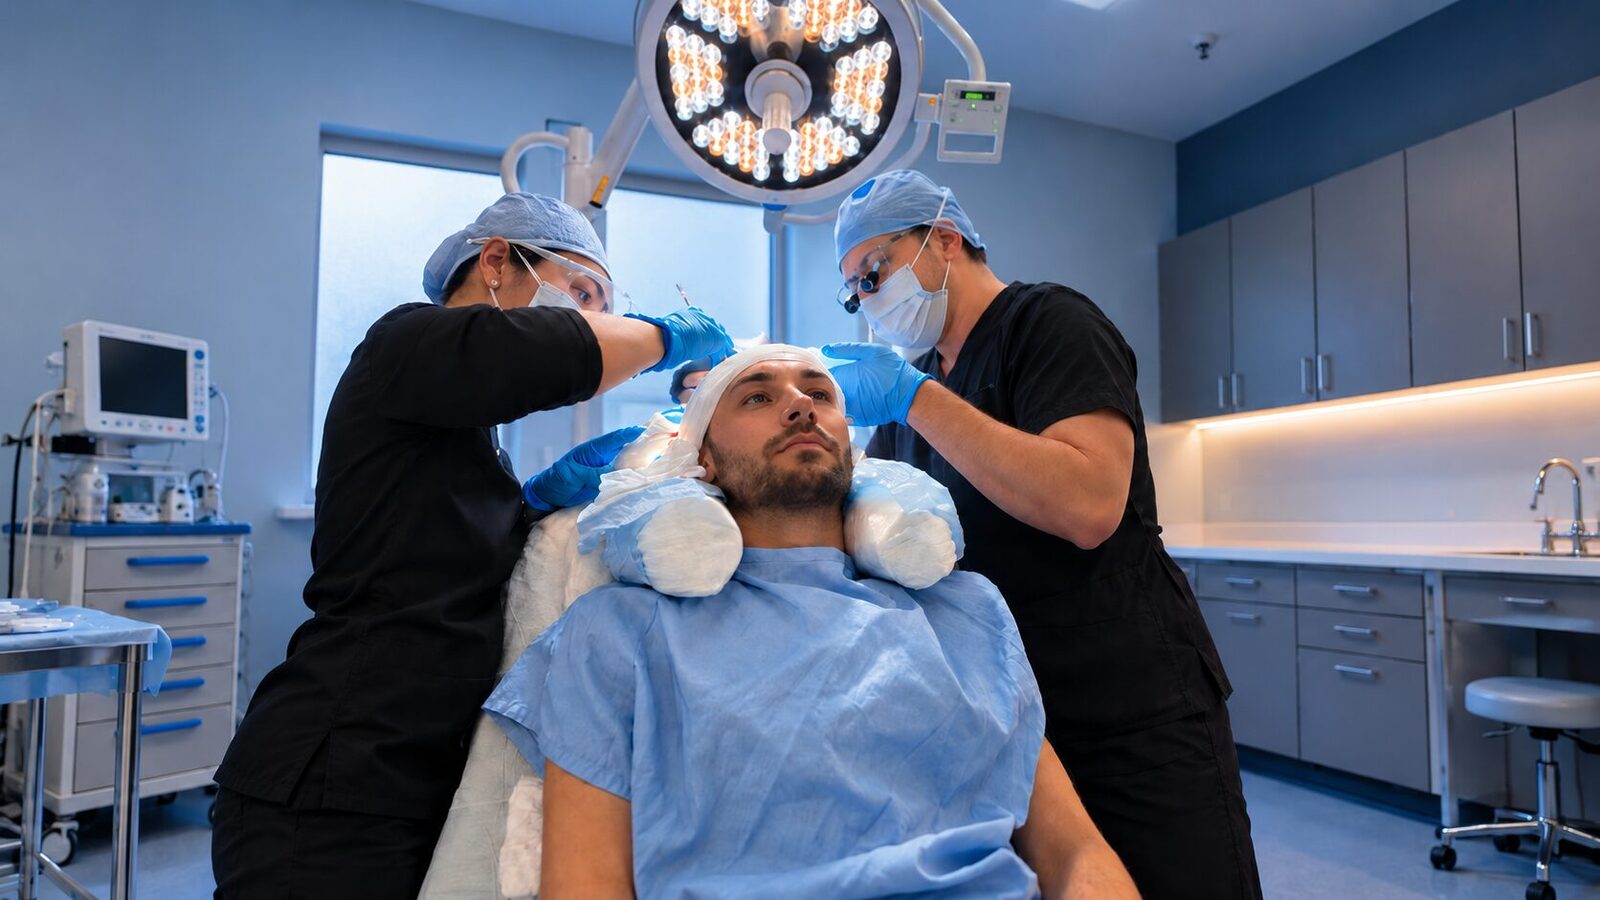
Most people who book surgery spend weeks picturing the result and almost no time picturing the day itself. That gap is where the nerves come from. Knowing what a hair transplant procedure day actually involves, hour by hour, takes most of the mystery out of it, and the mystery is usually the hardest part.
This guide walks you through a typical day at our Aventura clinic in north Miami-Dade, from the moment you check in to the moment you head home with a fresh, carefully planted scalp. You can read more about the people behind the work on our about page, but here the focus is practical: what happens, who does what, how you will feel and what to bring.
The Night Before: Setting Up an Easy Morning
A calm procedure day starts the evening before. By this point your plan is already written, your graft estimate is agreed and your questions from the consultation have been answered. What is left is simple preparation.
- Follow your medication instructions: the team will tell you which supplements or medicines to pause and for how long. Do not guess; ask if anything is unclear.
- Skip alcohol: it can increase bleeding and make the next day feel longer than it needs to.
- Wash your hair: a clean scalp with no gels, sprays or fibers makes the morning faster.
- Pick a button-up or zip shirt: you do not want to pull anything over a newly grafted scalp on the way home.
- Arrange your ride: plan for someone to drive you, or confirm your transportation with us if you are traveling in.
- Sleep: it sounds obvious, but a rested body handles a long sitting far better.
Patients flying in from elsewhere in Florida or out of state usually arrive the day before. Our guide for traveling patients covers flights into MIA or FLL, hotels and the complimentary transportation to and from the clinic, so the only thing you need to think about that morning is showing up.
Arriving at the Aventura Clinic
The clinic sits at 2999 NE 191st St in Aventura. You check in at the front desk, and the team confirms your paperwork, consent forms and medical history. If anything about your health has changed since the consultation, this is the moment to say so, even if it seems minor.
Next come the clinical basics. Your vital signs are checked, your photographs are taken from several angles so there is a clear before record, and you change into a gown. Nobody rushes you toward the chair, and there is time to ask whatever is on your mind.
Eat before you come: unless you are told otherwise, have a normal breakfast. You will be awake and seated for much of the day, and starting on an empty stomach only makes the hours feel longer.
Hairline Design With the Surgeon
Before a single graft is taken, the plan is drawn directly on your scalp. Dr. Adam Rubinstein, MD FACS, a board-certified plastic surgeon, reviews and approves every plan at the clinic, and the design session is where that plan becomes physical. With a surgical marker, the hairline, temple points and any crown or mid-scalp zones are outlined, and you look at the drawing in a mirror together.
This step matters more than many patients realize. A hairline that suits you at 30 also has to make sense at 50 and 60, when the hair around it may be thinner. So the line is set with your age, face shape, hair color and long-term loss pattern in mind, not just the photo you brought in. If you want it lower or more aggressive than is wise for your donor supply, the doctor will explain why, and you will reach an agreement before anything else happens.
The design session is also where graft distribution is finalized. A given number of grafts can be spread thinly across a large area or packed more densely into a smaller one. Most people get the most visible change by prioritizing the front, then the mid-scalp, then the crown, but your goals and the size of your donor area shape that order.
Numbing: The Only Part Most Patients Notice
Once the design is set, the team prepares the donor area, usually the back and sides of the head, and trims the hair there short so each follicle can be seen clearly. Then comes local anesthesia. There is no general anesthesia, and you stay awake and able to talk the whole day. Oral pain relief is available if you want it.
The numbing injections are the moment most people feel something: a series of quick stings and some pressure for a few minutes. After that, the area is numb, and the team keeps it that way, topping up the anesthetic before it wears off. If you are worried about this step, our article on whether a hair transplant hurts explains what patients typically feel at each stage.
Extraction and Placement: How the Day Unfolds
With the scalp numb, the main work begins. At our clinic, grafts are extracted by hand with fine handheld FUE instruments by the surgical team, under the oversight of Dr. Rubinstein. There are no robots or suction devices involved. Each follicular unit, a natural grouping of one to four hairs, is freed from the donor skin and lifted out individually. FUT, the strip method, and DHI-style placement are also offered when they suit the case better, and that choice is made at the consultation, not on the day.
The reasoning behind the manual approach, and how it protects your donor area, is laid out in detail on the Nova Medical FUE protocol page. If you are comparing that with machine-assisted clinics, see our breakdown of manual FUE versus NeoGraft, ARTAS and SmartGraft.
The extraction phase
You usually lie face down or recline for this part, depending on which zone is being worked on. Extraction is spread across the donor area rather than concentrated in one spot, so the back of your head does not look thinned out once it heals. The team protects the donor supply on purpose: there is no overharvesting, and a reserve is left for future loss. That restraint is one reason a clinic can safely move up to about 4,000 grafts in a single day for a patient with good donor density, and why very large plans are split into two sessions instead.
Sorting and keeping grafts healthy
Grafts do not sit around exposed. As they come out, they are counted, sorted by the number of hairs in each and kept protected and hydrated until placement. Single-hair grafts are set aside for the very front of the hairline, where softness matters most, while multi-hair grafts go behind them to build density.
The placement phase
Then you sit up for the recipient work. Tiny openings are made in the thinning areas at the angle and direction your native hair grows, and grafts are placed into them one at a time. This is slow, careful work, and it is where the design from the morning becomes real. The direction of each graft at the hairline and temples decides whether the result looks like hair that grew there or like something added later.
| Stage | What happens | What you are doing |
| Check-in | Paperwork, vitals, photos, gown | Asking final questions |
| Design | Hairline and zones drawn and agreed | Reviewing it in the mirror |
| Numbing | Local anesthesia to the donor area | A few minutes of stings, then numb |
| Extraction | Grafts removed by hand, sorted and chilled | Lying down, resting, listening to music |
| Break | Stretch, restroom, meal | Eating and moving around |
| Placement | Recipient sites made, grafts planted | Sitting up, watching something, chatting |
| Wrap-up | Final check, aftercare review, bandage | Getting ready to head home |
How long all of this takes depends mainly on graft count. Smaller sessions finish earlier; a large session fills most of the day. Your consultation gives you a realistic estimate of the timing for your own graft count.
Breaks, Meals and Comfort
A long sitting is not a marathon you push through without stopping. The day is broken up with pauses so you can use the restroom, stretch your legs and eat. Most patients have a meal at the midway point, usually after extraction and before placement, which also gives you a natural sense of progress. Ask the team ahead of time what to bring, especially if you have dietary needs.
Between breaks, the time passes more easily than people expect. Because you are awake and comfortable, you can listen to music or a podcast, watch a show or simply doze. Plenty of patients nap through part of the extraction. If you get cold, stiff or uncomfortable, say so; adjusting your position or adding a blanket is part of the job, not a favor.
Leaving the Clinic and the First Night
When the last graft is in, the team checks the whole recipient area, cleans the scalp and usually applies a light bandage to the donor area. Before you leave, someone walks you through your aftercare instructions: how to sleep, how and when to wash, what to avoid and which medications to take. You go home the same day.
That evening, expect some tightness and mild soreness, mostly in the donor area, which oral pain relief generally handles well. Sleep with your head elevated, avoid touching the grafts and keep the scalp out of the South Florida sun. A loose, clean hat is fine for the ride if you want cover, but nothing tight. The first couple of weeks bring their own small milestones, and your written aftercare instructions explain each one so nothing catches you off guard.
The follow-up does not stop at the door, either. You get 12 months of follow-up, so there is a clear point of contact if anything looks or feels unexpected as you heal.
A Patient's Result: What the Months After Look Like
Procedure day is the shortest part of the journey. The longer story plays out over the following year, and it rarely moves in a straight line. In the first few weeks, the small scabs fall away and the scalp starts to look almost normal. Then, often somewhere in the first two or three months, many of the transplanted hairs shed. This is expected: the follicles stay in place and rest before producing new growth.
New hairs usually start to appear a few months in, often thin and fine at first. Around the middle of the year, most patients notice real change in the mirror, and the hair keeps thickening and maturing through the year that follows. The moment people describe most often is not a single day but a gradual realization: styling takes less effort, photos stop being something to dodge, and a windy day on the beach no longer feels like a threat.
A good result is not just more hair. It is hair that looks like it was always yours, with a soft, slightly irregular hairline, grafts angled the same way as your native hair and a donor area that does not give away where they came from. That is why the planning, the hand extraction and the care taken with placement all matter so much on the day itself. Keeping the hair around the transplant healthy, often with medication your doctor recommends, helps the overall look hold up as the years go by.
See Procedure Day for Yourself
Book a free consultation in Aventura or online, and we will walk you through your plan, your graft estimate and exactly how your day would run.